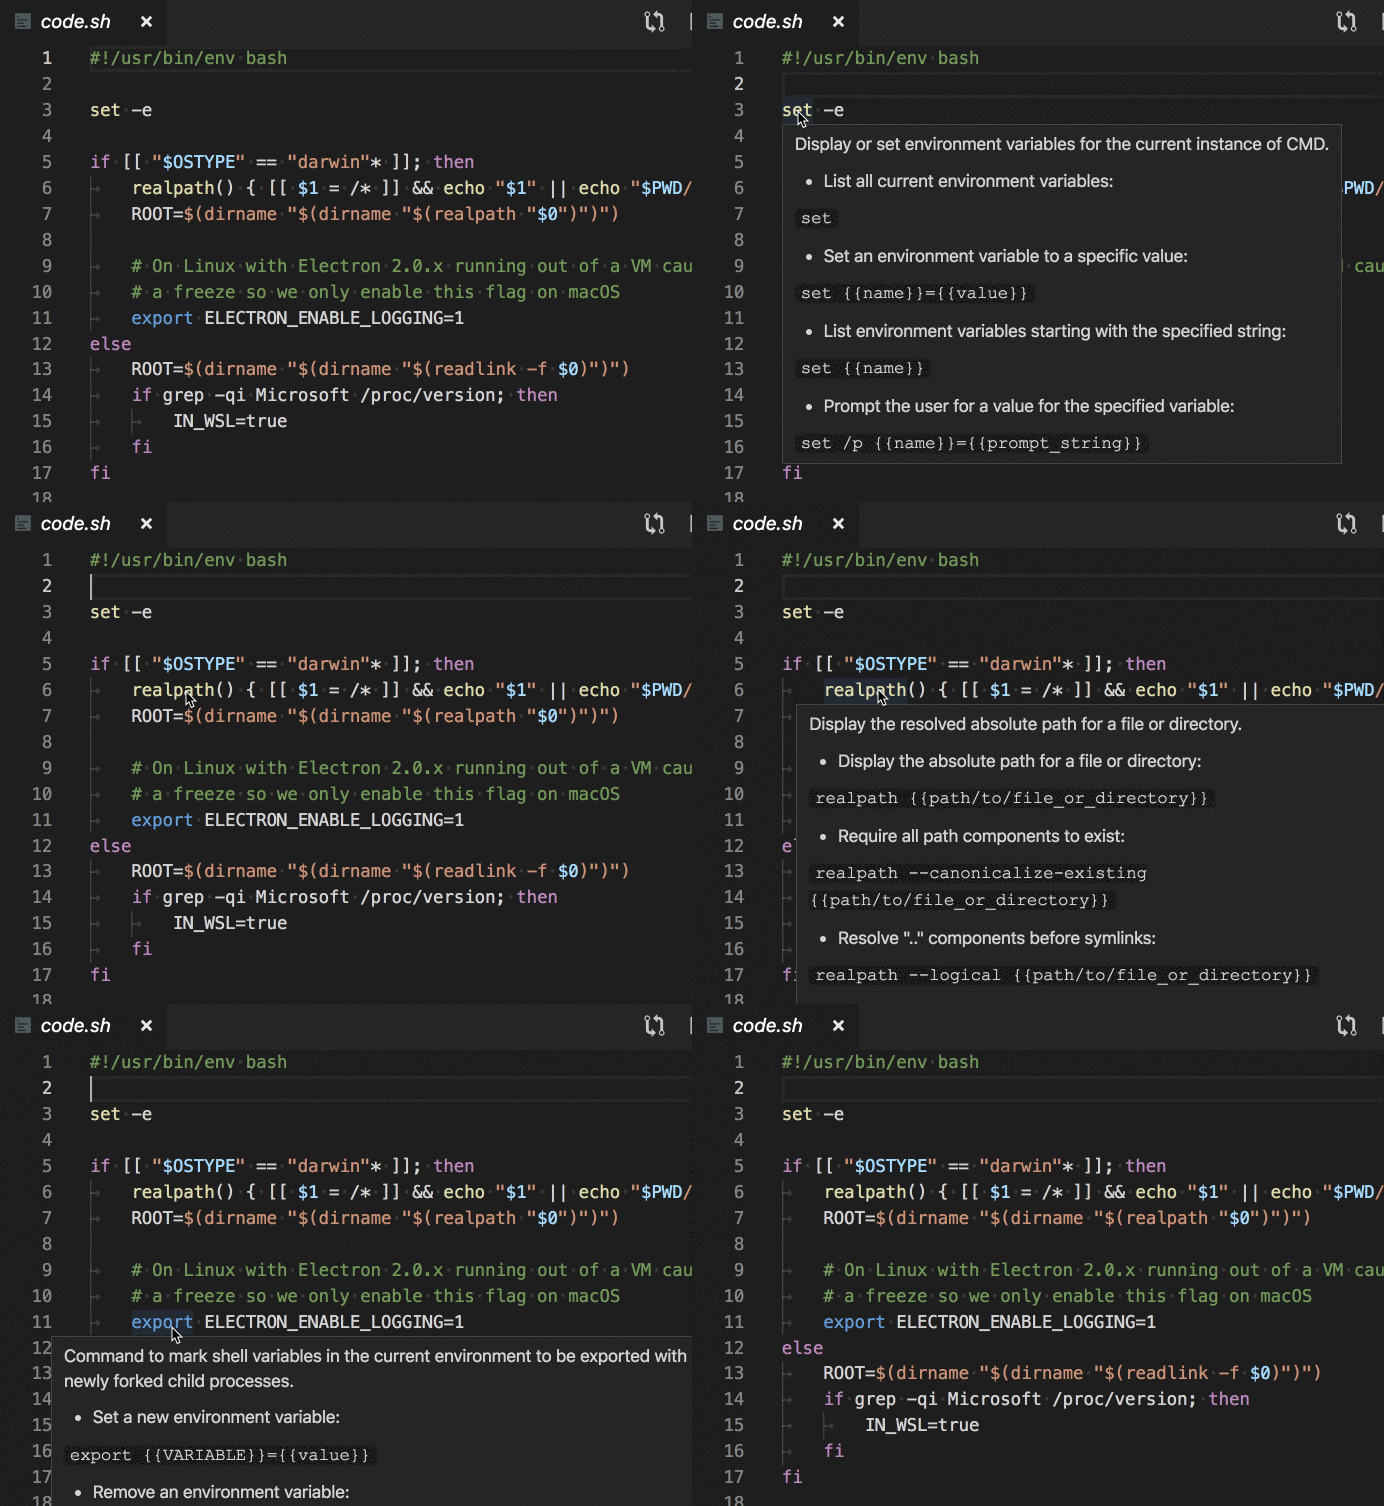
लिनक्स में यदि किसी कमांड के बारे में जानना हो तो MAN पेजों का सहारा लेना पड़ता है। MAN पेजों में यद्यपि उस कमांड के विषय में सम्पूर्ण जानकारी होती है फिर भी आम उपयोगकर्ता के लिए ये समझने में कुछ कठिन रहता है। आज हम TLDR के विषय में चर्चा करेंगे। TLDR लोगों द्वारा बनाए गए लिनक्स कमांड से संबंधित “हेल्प पेजों” का संग्रह है जिन्हे कि किसी भी क्लाइंट द्वारा प्राप्त किया जा सकता है। यह पारंपरिक MAN पेजों का एक तगड़ा विकल्प बन सकता है। क्योंकि ये समझने में बेहद आसान है।
TLDR और MAN पेजों में अंतर
TLDR और MAN पेजों में अंतर आप निम्नलिखित उदाहरण से समझ सकते हैं। मान लीजिए कि हमें tar कमांड के बारे में जानकारी चाहिए। तो MAN पेज हमें कुछ ऐसा दिखेगा:
man tar
TAR(1)                                                                          GNU TAR Manual                                                                          TAR(1)

NAME
       tar - an archiving utility

SYNOPSIS
   Traditional usage
       tar {A|c|d|r|t|u|x}[GnSkUWOmpsMBiajJzZhPlRvwo] [ARG...]

   UNIX-style usage
       tar -A [OPTIONS] ARCHIVE ARCHIVE

       tar -c [-f ARCHIVE] [OPTIONS] [FILE...]

       tar -d [-f ARCHIVE] [OPTIONS] [FILE...]

       tar -t [-f ARCHIVE] [OPTIONS] [MEMBER...]

       tar -r [-f ARCHIVE] [OPTIONS] [FILE...]

       tar -u [-f ARCHIVE] [OPTIONS] [FILE...]

       tar -x [-f ARCHIVE] [OPTIONS] [MEMBER...]

   GNU-style usage
       tar {--catenate|--concatenate} [OPTIONS] ARCHIVE ARCHIVE

       tar --create [--file ARCHIVE] [OPTIONS] [FILE...]

       tar {--diff|--compare} [--file ARCHIVE] [OPTIONS] [FILE...]

       tar --delete [--file ARCHIVE] [OPTIONS] [MEMBER...]

       tar --append [-f ARCHIVE] [OPTIONS] [FILE...]

       tar --list [-f ARCHIVE] [OPTIONS] [MEMBER...]

       tar --test-label [--file ARCHIVE] [OPTIONS] [LABEL...]

       tar --update [--file ARCHIVE] [OPTIONS] [FILE...]

       tar --update [-f ARCHIVE] [OPTIONS] [FILE...]

       tar {--extract|--get} [-f ARCHIVE] [OPTIONS] [MEMBER...]

NOTE
       This manpage is a short description of GNU tar.  For a detailed discussion, including examples and usage recommendations, refer to the GNU Tar Manual available in tex‐
       info format.  If the info reader and the tar documentation are properly installed on your system, the command
वहीं tldr हमें कुछ ऐसा आउटपुट देगा
tldr tar
✔ Page not found. Updating cache...
✔ Creating index...

  tar

  Archiving utility.
  Often combined with a compression method, such as gzip or bzip.
  More information: https://www.gnu.org/software/tar.

  - Create an archive from files:
    tar cf target.tar file1 file2 file3

  - Create a gzipped archive:
    tar czf target.tar.gz file1 file2 file3

  - Create a gzipped archive from a directory using relative paths:
    tar czf target.tar.gz -C path/to/directory .

  - Extract a (compressed) archive into the current directory:
    tar xf source.tar[.gz|.bz2|.xz]

  - Extract a (compressed) archive into the target directory:
    tar xf source.tar[.gz|.bz2|.xz] -C directory

  - Create a compressed archive, using archive suffix to determine the compression program:
    tar caf target.tar.xz file1 file2 file3

  - List the contents of a tar file:
    tar tvf source.tar

  - Extract files matching a pattern:
    tar xf source.tar --wildcards "*.html"

  - Extract a specific file without preserving the folder structure:
    tar xf source.tar source.tar/path/to/extract --strip-components=depth_to_strip
आप देख सकते हैं कि tldr पूछे गए कमांड के उपयोग के हिसाब से उदाहरण प्रस्तुत करता है। आम उपयोगकर्ता के लिए ये समझने में बेहद आसान है। tldr को लिनक्स कमांड लाइन की चीटशीट भी कहा जा सकता है। tldr उन उपयोगकर्ताओं के लिए एक वरदान के समान है जो कि कमांड लाइन की दुनिया में नए हैं।
TLDR Client को कैसे स्थापित करें?
TLDR Client को स्थापित करने के ढेरों तरीके हैं। आप इसे Node, PHP, Ruby, VSCode आदि विभिन्न तरीकों से स्थापित कर सकते हैं। यदि आपके कम्प्यूटर में Nodejs स्थापित है तो आप इसे npm के जरिए भी स्थापित कर सकते हैं। TLDR Client को npm के जरिए स्थापित करने के लिए निम्नलिखित कमांड दें:
npm install -g tldr
आप इसे Visual Studio Code के एक्सटेंशन के रूप में भी स्थापित कर सकते हैं।

https://github.com/bmuskalla/vscode-tldr
tldr को डाउनलोड करने हेतु निम्नलिखित लिंक पर क्लिक करें:

